
 Abbreviations:
 ch = chain
ss = slip stich
sc = single crochet
st/sts = stitch/stitches (an sc from the previous round)
I have used an 8 ply yarn with a 3.5mm crochet hook, however, any ply can be used - I would recommend however, using a smaller hook than a larger one so it doesn't get too holey in appearance.
1 ball cream (a)
1 ball red (b)
1 ball blue (c)
1 ball black -preferably 4 ply or even better, embroidery floss (d)
N.B. When decreasing, I recommend skipping a stitch, so if the fifth stitch is to be missed I would crochet 4 stitches and jump the fifth one - as it lands, that stitch would be considered the first of the next cluster of 4.
Rounds are worked continuously unless otherwise indicated. There will be steps in the colour change but I keep them at the back of my work.
 To make up body:
Using yarn (a) ch 2, 6 sc into second ch from hook. Ss into first sc. (6)
Round 1. *2sc into next st. *Repeat until end. (12)
Round 2. *1sc into first st then 2sc into following st. *Repeat until end. (18)
Round 3. *1sc into next 2 sts then 2sc into the following st. *Repeat until end. (24)
Change yarn (b)
Round 3. *1sc into next 3 sts then 2sc into the following st. *Repeat until end. (30)
Round 4. *1sc into next 4 sts then 2sc into the following st. *Repeat until end. (36)
 Change yarn (a)
Rounds 5-6. 1sc in each st until end. (36)
Change yarn (b)
Rounds 7-8. 1sc in each st until end. (36)
Change yarn (a)
Rounds 9-10. 1sc in each st until end. (36)
Change yarn (b)
Rounds 11-12. 1sc in each st until end. (36)
Change yarn (a)
Round 13. 1sc in each st until end. (36)
Round14. *1sc into next 5 sts, skip following st. *Repeat until end. (30)
Change yarn (c)
Round 15. *1sc into next 4 sts, skip following st. *Repeat until end. (24)
Rounds 16-18. 1sc into each st until end. (24)
 Round 19. 1sc into the back loop of each st. (24)
Round 20. *1sc into next 2 sts, skip following st. *Repeat until end. (18)
Stuff body firmly.
1sc into every second st until the hole is closed. Tie off yarn and admire your headless rabbit.
 To make up head.
Ch 2, 6sc into second ch from hook. Ss into first sc. (6)
Round 1. *2sc into next st. *Repeat until end. (12)
Round 2. *1sc into first st then 2sc into the following st. *Repeat until end. (18)
Round 3. *1sc into next 2sts then 2sc into the following st. *Repeat until end. (24)
Round 4. *1sc into next 3sts then 2sc into the following st. *Repeat until end. (30)
Round 5. *1sc into next 4 sts then 2sc into the following st. *Repeat until end. (36)
Round 6. *1sc into next 5sts then 2sc into the following st. *Repeat until end. (42).
Rounds 7-8. 1sc into each sc until end. (42).
Round 9. *1sc into next 6sts then skip following st. *Repeat until end. (36)
Round 10. *1sc into next 5sts then skip following st. *Repeat until end. (30)
Round 11. *1sc into next 4 sts then skip following st. *Repeat until end. (24)
Round 12. *1sc into next 3sts then skip following st. *Repeat until end. (18)
Round13. *1sc into next 2sts then skip following st. *Repeat until end. (12)
Stuff firmly the continue to sc into every second st until the hole is closed. Leave a long tail as this will be used to stitche the head to the body.
 To embroider the face.
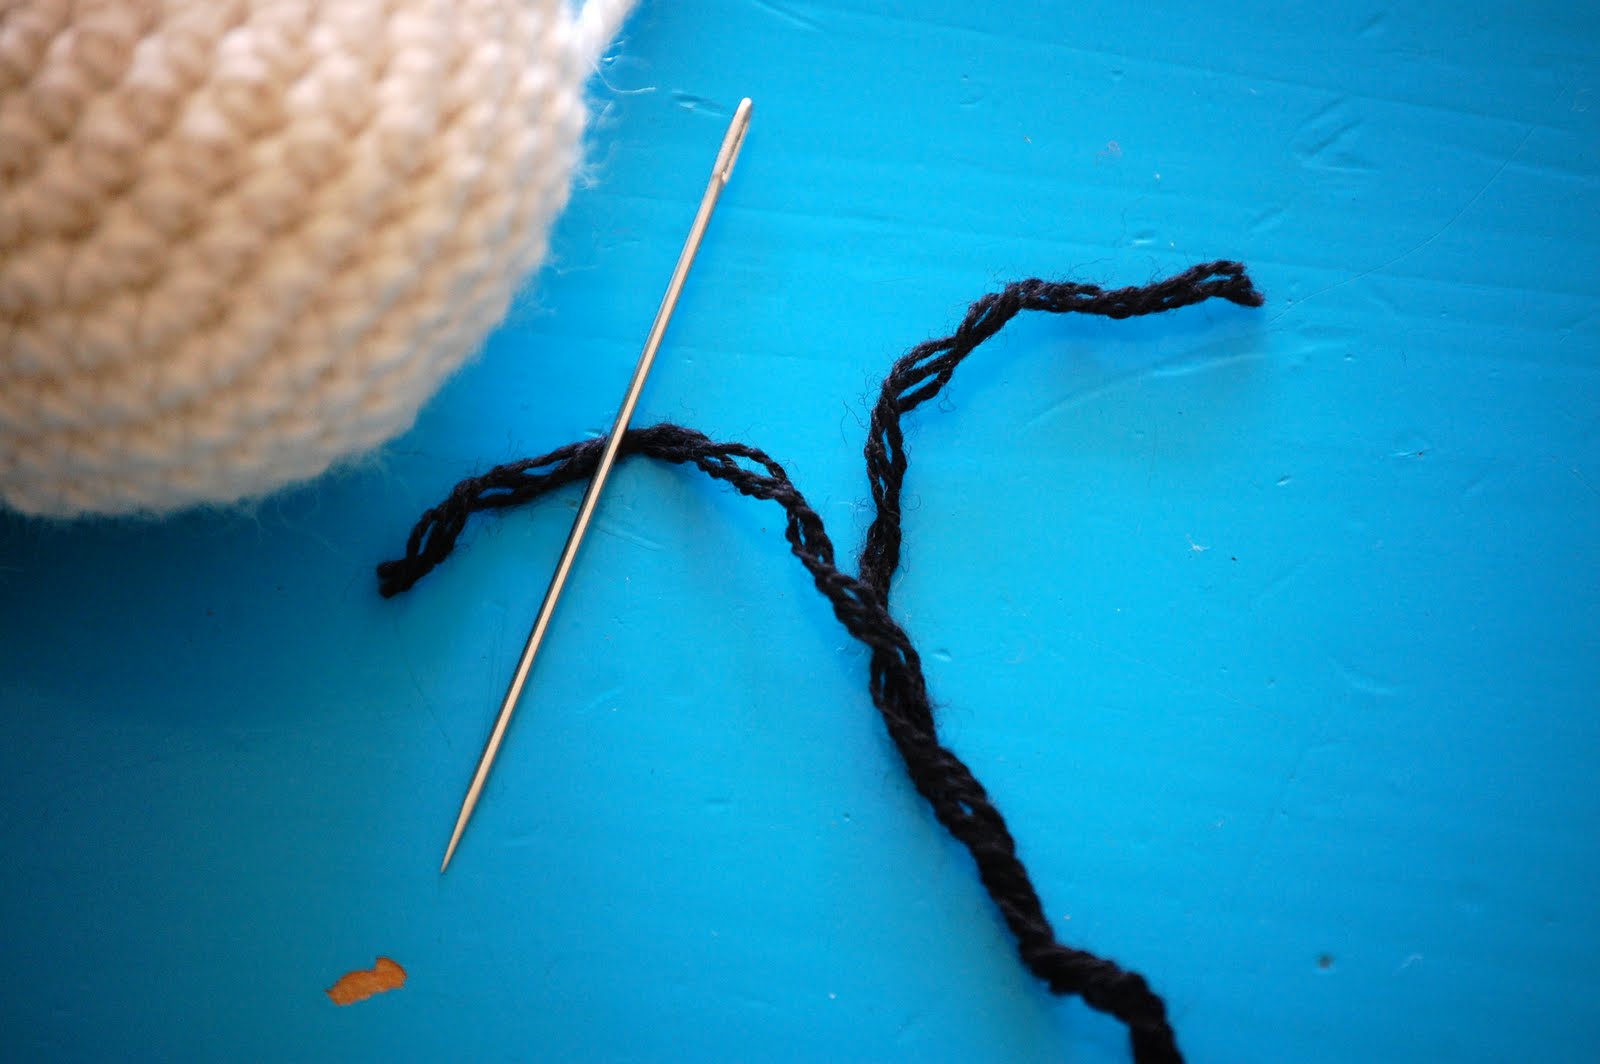
Using yarn (or embroidery floss) (d), thread needle. I only had black in 8 ply so I split it... I even took a photo to be extra helpful!
 Stick needle through the hole where the tail was tied off, bringing the tip of the needle up through the position where the first eye will be centred. I have used a bullion stitch to create the eyes but you could use a french knot or embroider a criss-cross or even use buttons. I would recommend a good width between the eyes as it makes them look cuter... too close together and they start to look a little sneaky and weired.
 Tie off with a little knot to secure the thread. This spot is point a.
 This is the bullion stitch part. Insert the needle about 3-5mm below point a. (This spot is point b). Bring the needle back out just next to or above point a.
 Wrap your thread around the needle six times.
 And pull the needle through, maintaining a firm hold on the wraps and gently guiding them along the yarn/floss as though threading beads. The eye should sit flat along the head but if not, use your fingernails to tighten them along. Reinsert the needle at point b and then bring it out at the position of the next eye. Repeat (although it is not necessary to do a starting knot again).
 Reinsert the needle down where the mouth is going to be and either make another bullion stitch or embroider a criss-cross. Bring the yarn out where the head was finished and tie off. The beauty of tying off their means the little black knot will be covered up when the body is attached.
Stitch head onto body.
 To make up the ears. (Make 2)
Ch 2, 4sc into the second ch from hook. Ss into first sc. (4)
Round 1. 2sc into each st until end. (8)
Rounds 2-3. 1sc into each st until end. (8)
Round 4. *1sc into the next 3sts ,then 2sc into the following st. *Repeat until end. (10)
Round 5. 1sc into each st until end.
Round 6. *1sc into the next 4sts ,then 2sc into the following st. *Repeat until end. (12)
Rounds 7-9. 1sc in each st until end. (12)
Round 10. *1sc into the next 5sts, then skip following st. *Repeat until end. (10)
Rounds 11-12. 1sc into each st until end. (10)
Round 13. *1sc into the next 4 sts, then skip the following st. *Repeat until end. (8)
Round 14. 1sc into each st until the end. (8)
Fasten off leaving a long tie to stitch the ear on with.
Stitch on ears.
 So hopefully you have come out with something looking a little bit like a rabbit, or as much as Flora can considering she has no legs or arms. A tail might be good but at this stage I will leave that up to you. My first Flora Rabbit is holding a posy of flowers, this pattern came from Attic24 and I made them up in a 4ply cotton - adorn away. This time I think I might try to make a little ice cream for her. I'll let you know how it works out.
 Good luck.
Lots of love, Kate xxooxx.